This story has been updated. It originally published on March 16, 2024.
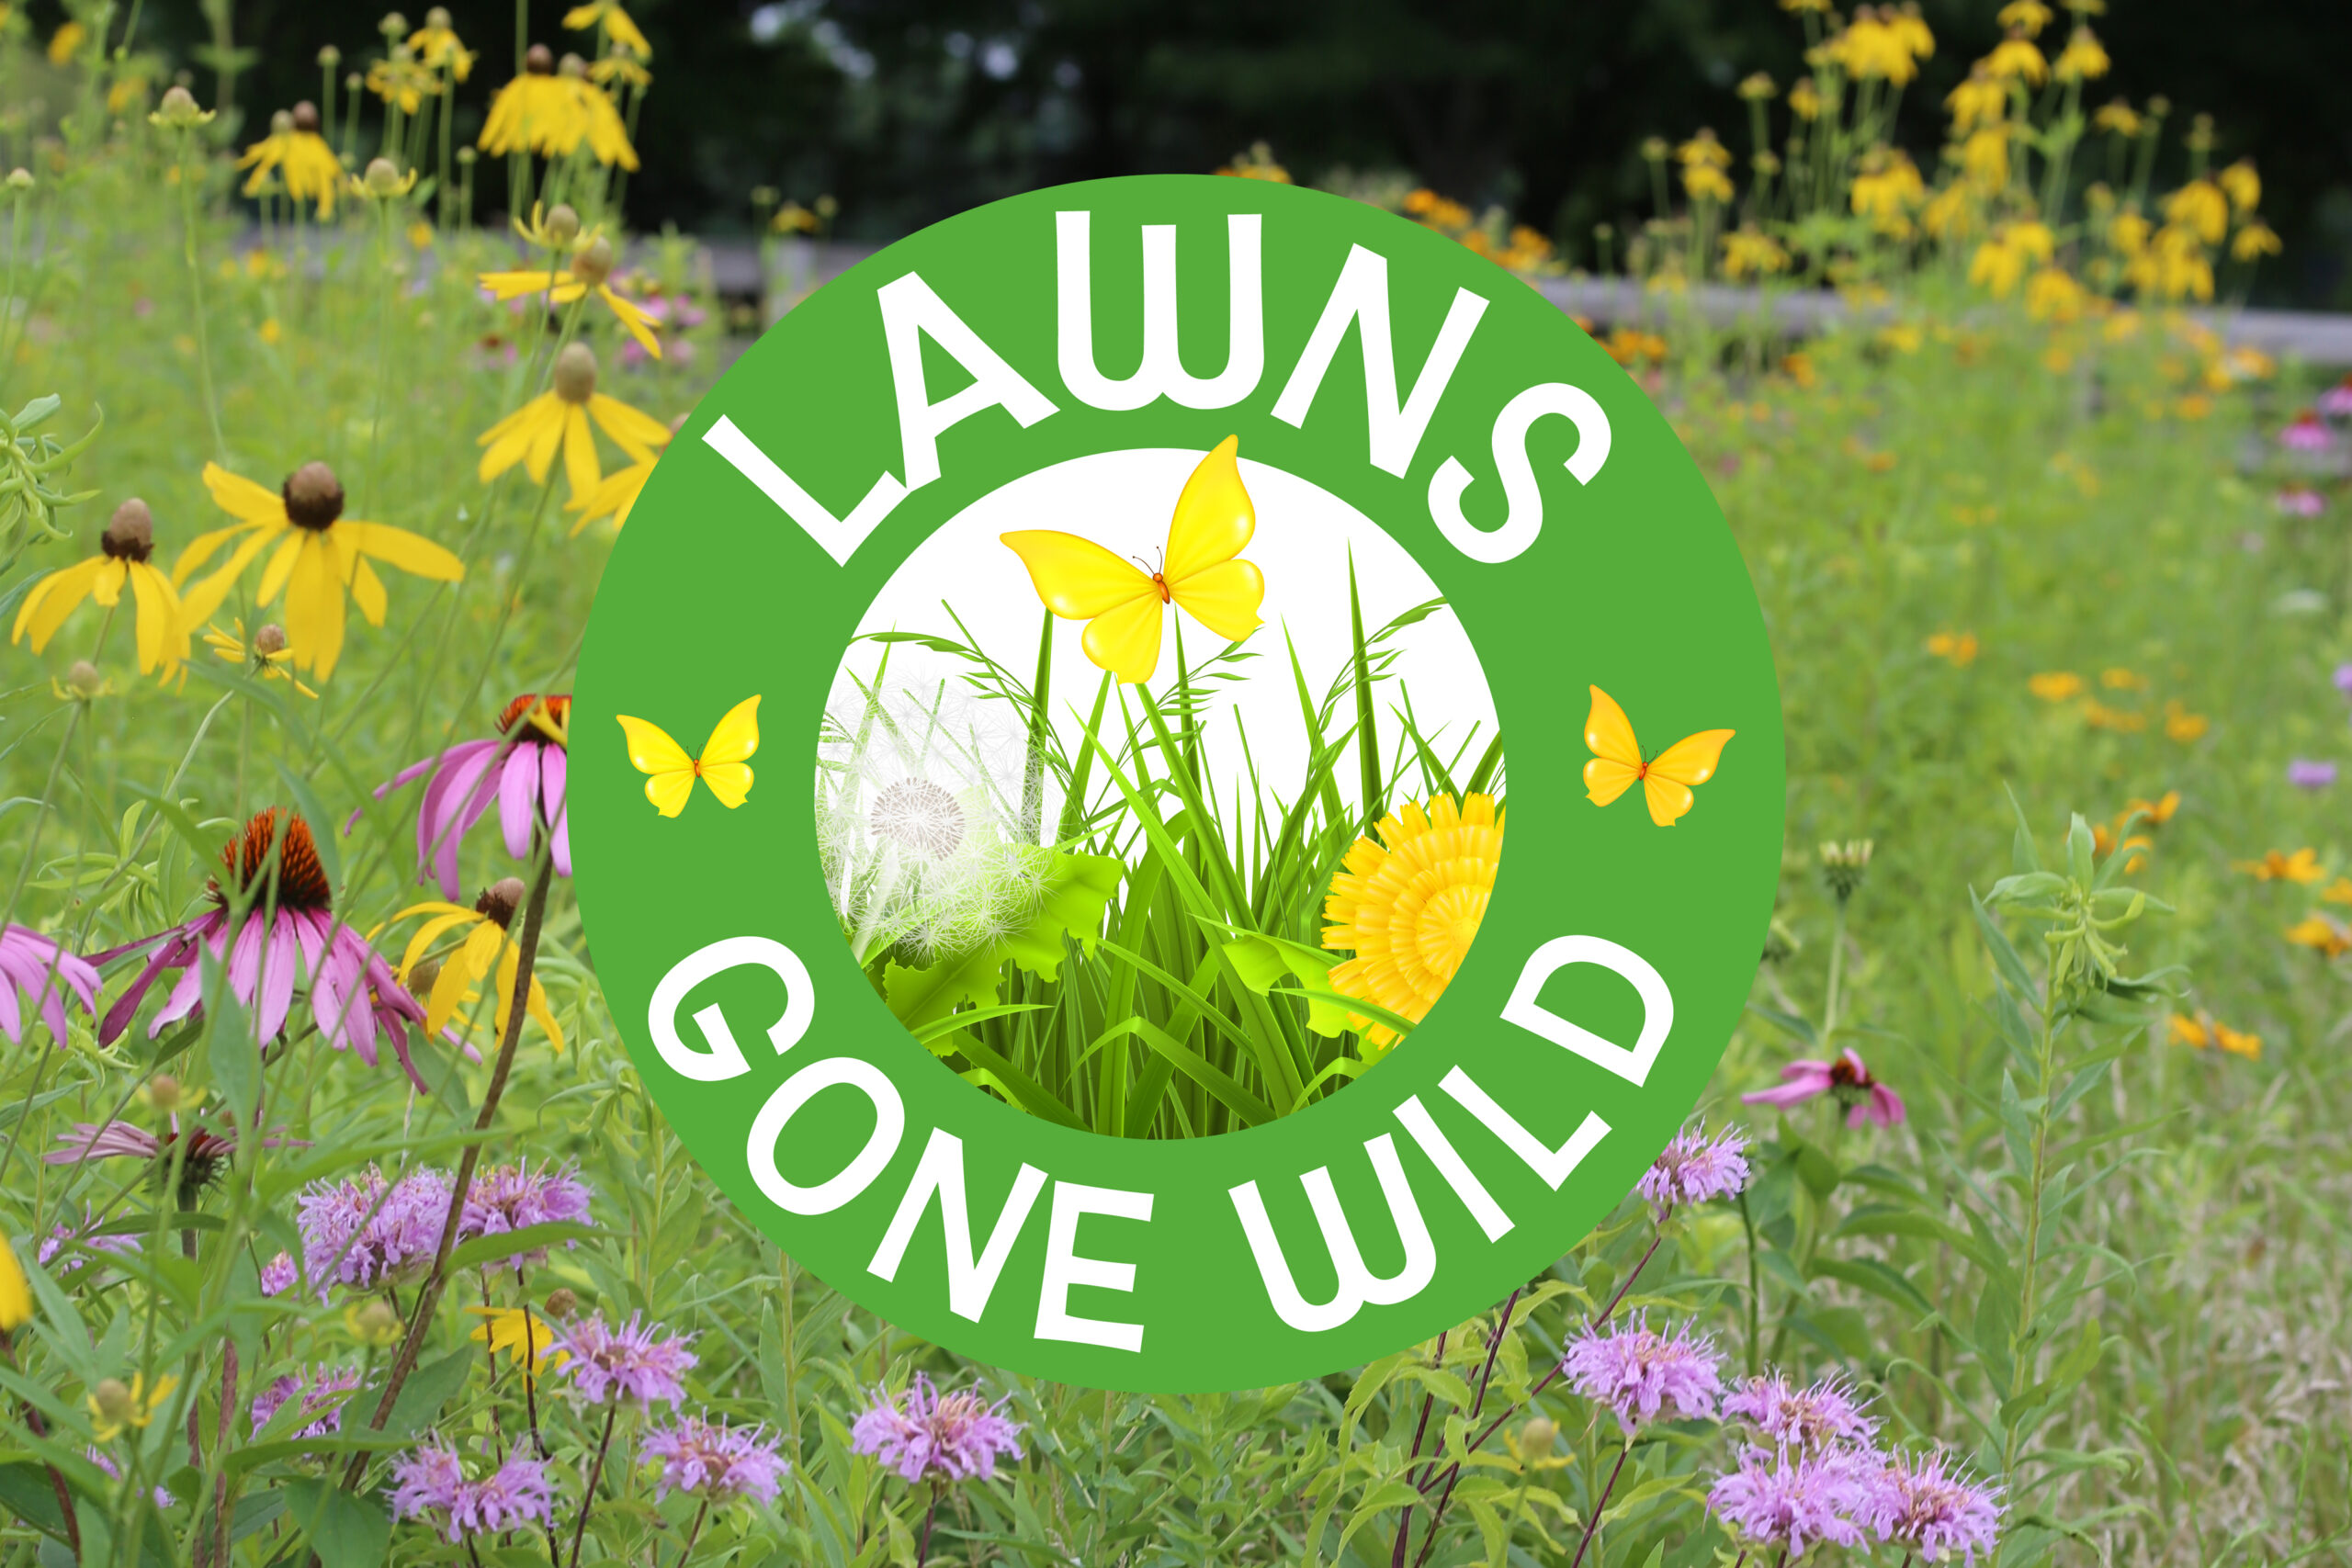
It’s well established that your lawn of non-native grass is the enemy of local ecosystems and total crap as a carbon sink. But now that spring is upon us, you can go toe-to-toe with the adversary in your own backyard and create a self-sustaining habitat for urban and suburban wildlife. Welcome to one5c’s Lawns Gone Wild, your step-by-step guide to rewilding a piece of your turf. Between now and May, we’ll be doling out our five-step plan for kicking your grass.
Why rewild?
Rewilding isn’t just some new trend. Conservation biologists Michael Soulé and Reed Noss defined the term back in the ‘80s. The duo called for the restoration of human-altered landscapes and the protection of wild areas where once-native animals could once again thrive.
A rewilded plot full of native plants will certainly look different than your typical monoculture yard, but those diverse local flora evolved to be perfectly in sync with their specific environments and provide a vital lifeline to animals that call the area home. Consider, for instance, that 90% of insects can only reproduce when they feed on plants they share an evolutionary history with. More native plants also attract more insects, meaning dinner is served for even more critters and birds, sending positive ripples through the food chain. Many of these species also double as pollinators, which means that rewilding a little patch on your turf can go a long way.
Spicing up a single-crop backyard with a mix of wild plants also boosts soil resilience. Different plant species have varied root lengths, and longer ones slow water movement underground and lock in soil moisture much better than standard grass would. That extra water makes the soil more resistant to fires and droughts, both of which are becoming more common. Plus, a reduced need for irrigation means you can ditch those sprinklers to cut back on unnecessary water use. Swapping a manicured lawn for wilder plants also reduces the heat island effect. Traditional lawns can be up to 25.2 degrees F hotter than green spaces with more complex vegetation.
But rewilding takes more than simply retiring your mower during No-Mow May and sprinkling on some native seeds. That will likely leave you with a bunch of tall grass, warns Doug Tallamy, the University of Delaware ecologist behind Homegrown National Park, an organization that promotes restoring yards to natural landscapes. “That’s a guaranteed total failure, because the lawn will outcompete every one of those tiny little seeds,” he says. But getting started is as easy as not throwing away the remnants of your next online shopping purchase.
First week of March: Hoard your cardboard
Step one is easy and commits you to nothing: Start collecting cardboard. At the end of March, you’ll cover the area you’re rewilding with those pieces to help choke out unwanted grass and weeds. For now, start eyeing a patch to slaughter—we suggest starting small with a 10-by-10 block—and save any boxes that come in the mail, or hit up places like liquor stores or Costco that usually give them out freely.
This practice is known as sheet mulching. This seed-smothering technique helps suppress existing weeds in soil so your new plants aren’t fighting over precious room to grow. Paperboard also breaks down into nutritional compost that the soil underneath will readily enjoy.
A note about cardboard
There’s some back-and-forth online about if cardboard is a wise choice for sheet-mulching. Some cardboard does contain PFAS—or forever chemicals—that can leach into the soil. PFAS are commonly found in coatings and other treatments that make paper and cardboard shiny and/or create a nonstick barrier for food. To help avoid this type of contamination concern, use the most-unvarnished, dull, brown boxes you can find. Tallamy particularly recommends simple builder’s paper as an easy and accessible alternative.
Some research has also found that laying paperboard may harm the soil, because the layers prevent oxygen and carbon dioxide from passing through more than traditional wood-chip mulch. It’s important to remember, though, that for our grass-murdering purposes cardboard is not a “forever” or recurring thing—and that we’re playing a long-game in terms of improving the overall ecology of our lawns. You’ll pick up those boxes in about two months once the grass is dead, and there is no data to indicate that any impacts on the soil are long-term.
Last week of March: Lay down your cardboard
Now it’s time to cover the patch of grass you’re rewilding—a technique known as “sheet mulching. ”But why? “You've got to block sunlight from your grass long enough so that it gives up and dies and it kills the roots,” says ecologist Tallamy. By his estimate, you’ll have murdered that non-native grass in about two months.
We suggest a 10-by-10 block, because, as Tallamy notes, restoring your entire lawn to the splendor of a meadow is a process that could take up to three years—depending how big your property is. Remember, this is more than a fun spring project; it’s a commitment to your local ecology. Rewilding promotes biodiversity and can bring back what University of Montana professor of environmental philosophy Christopher Preston calls “beneficial insects” like bees, which “keep nature humming and ticking.”
Let’s get to it: Remove any plastic and tape from your cardboard and lay it down on top of your grass. You may want to place some mulch or rocks on top of the sheets to weigh them down. That’s it! You’re done until April, when it will be time to talk about sourcing seeds and plants.
Mid-April: Buy your seeds
At this point, those of you playing along are probably wondering: What the hell do I plant once this murder-cardboard has done its job? And where do I find the right seeds or plants?
Native plants are key to supporting local wildlife like insects and birds. “If one part [of the ecosystem] drops out or is minimized, other parts can fill in that ecological niche to create the level of resilience and sustainability that forwards the ecosystem,” says University of Minnesota Forestry Extension educator Angie Gupta. Figuring out which flora are right for your area comes down to something called a planting hardiness zone—essentially a USDA-defined temperature band that IDs which perennial plants will thrive in a given area. You can use that zone to seek out your ideal plants, but there are also resources that let you search by zip code.
Once you’ve done the research and picked out your perfect mix of meadow, it’s time to shop! Your local native plant society might help you bang out both research and buying in one shot. If not, it’s best to avoid big-boxers like Home Depot since they tend to carry stuff that’s not native. Be sure to check with your retailer of choice about how much seed you’ll need. For example, Northeast retailer Hudson Valley Seed Co. estimates you’ll need an ounce of seeds for a 10-by-10 plot (100 square feet). Here are the best places to look:
First week of May: Plant your seeds
Pour one out for your non-native grass, which should be dead or close to breathing its last at this point. Now it’s time for the fun stuff: planting. This coming Sunday—or the few days after—is your moment.
First up is prep. If you covered your grass with cardboard, pull it up. If you used builder’s paper, you don’t have to remove it; ecologist Tallamy says it should be sufficiently broken down by now and you can plant right through whatever scraps are left. Before you plant or seed, rake any excess materials or weeds off the area. The seed-sowing process is different depending on whether you opted to buy seeds or plugs.
If you’re planting seeds
Mix your seeds with sand (Lady Bird Johnson’s Wildflower Institute suggests four parts sand to one part seed) to help them bind to the ground and spread evenly. Divide the mix into two parts, and scatter it in a crosshatch pattern across your plot: Toss half across from left to right, and then the other half from top to bottom. Then lightly pat the soil down. Mulch with hay and water immediately. Wet the plot daily for the first couple weeks until the plants germinate and roots are established.
If you’re planting plugs
Use a drill or a trowel to make a hole that’s about an inch and a quarter deep (or allows the plug’s crown to be at or barely above soil level), pop your plugs in at least 12 inches apart, and spread natural mulch or compost.
That’s it! What comes next requires patience and, especially if this is your first attempt, giving yourself and your lawn a little grace. Remember: Rewilding is a marathon. “Some of the plants won't make it or won't thrive, and others will do really well and hopefully live and learn and change and adapt,” says University of Minnesota's Gupta, who’s created resources (including a list of plants and trees) to help Minnesotans plant in a climate-resilient manner. While plugs give you a head start and will have spread after a few months, if you’re planting from seed, Tallamy says it can take two to three years to see the “full splendor” of a meadow.
Mid-May: Maintain your fresh meadow
The hard stuff is over: You’ve killed your grass, sourced your seeds, and planted them. Now you just have to care for your little plot of earth, which leads us to one of the best things about your burgeoning meadow: Aside from the added biodiversity, which Gupta says can help prepare your yard for a changing climate, is that it’s beautifully low maintenance. Unlike the non-native grass it replaced, native plants don’t require much moisture in addition to rainfall.
For the first couple weeks after you’ve seeded or planted, water daily. Guidance on rewetting the ground can differ based on your region and planting zone, but ecologist Tallamy says if you’ve done this process at the right time of year (and unless there’s a drought), you can pretty much leave things to nature. You also don’t have to mow, but if you want to keep trees from horning in on your meadow, give it a trim once a year in the spring—but no more than that.
Yep, it’s that easy. If you planted from seed, remember that it could take a few years until you have the lush meadow of your native plant dreams. If you planted plugs, pollinators will show up much sooner, especially if your flora is flowering.
Remember again to practice patience—and keep your bigger goals in mind. Rewilding is a spectrum, says University of Montana's Preston. On one end, people are trying to bring back woolly mammoths and other extinct creatures. On the other (dare we say more practical) end, there’s restoring the natural landscape in your own backyard to create a resilient, self-sustaining ecosystem.
Additional reporting by Audrey Chan.