This story is a part of one5c’s guide to sustainable fashion. Read more about fast fashion and the climate, sustainable laundry, clothing storage, and upcycling.
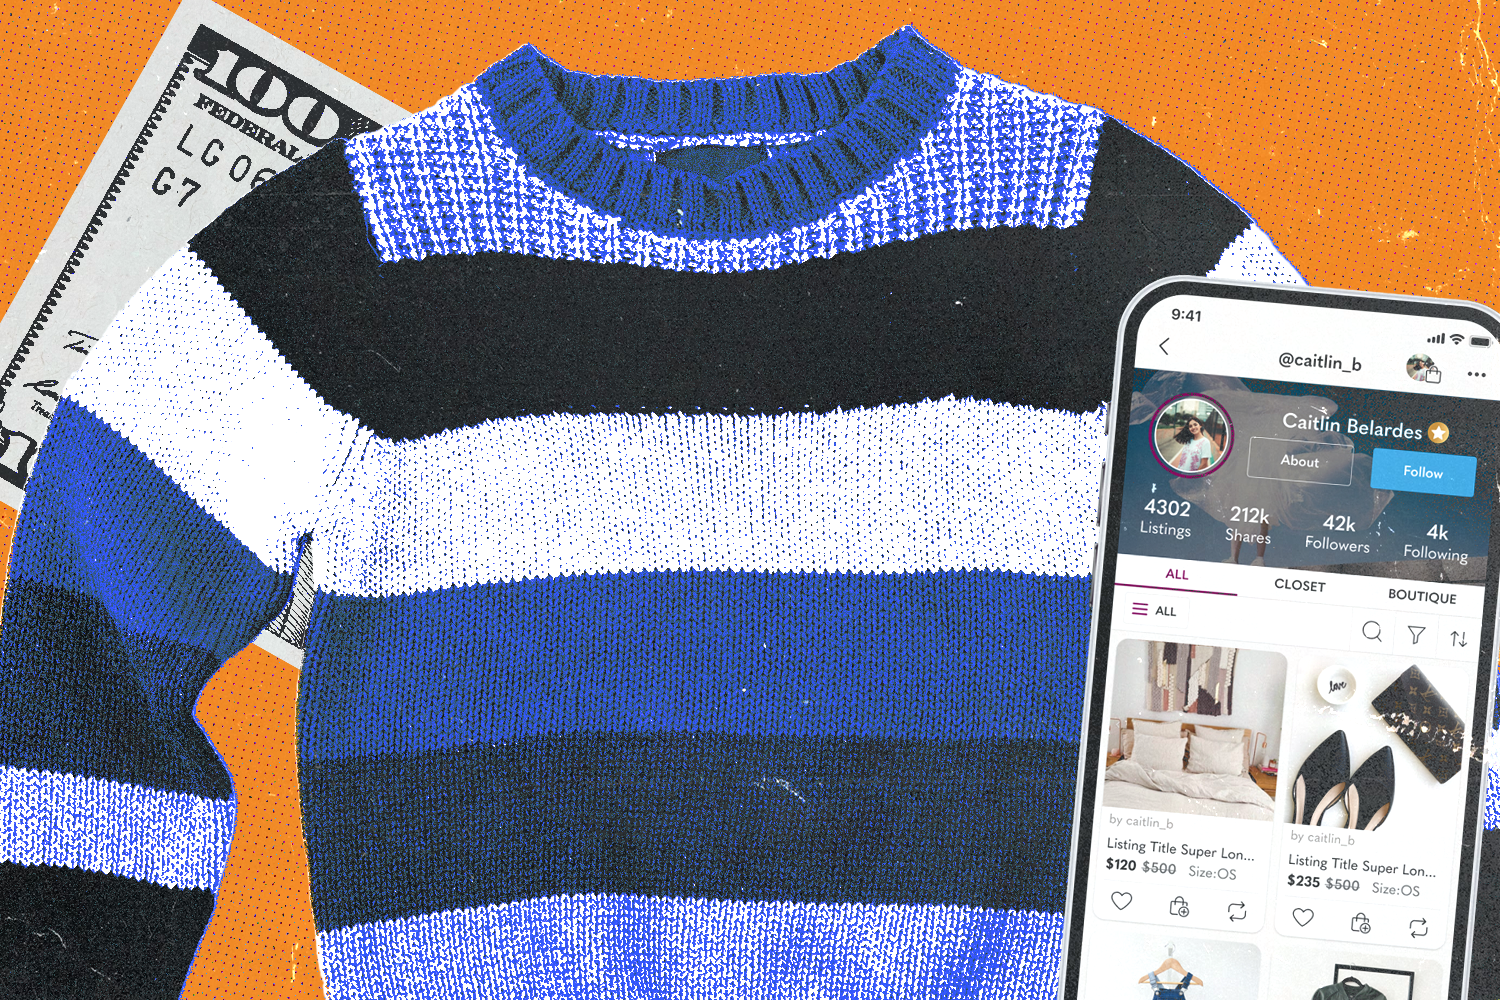
Nothing looks quite like a perfectly fitted outfit, but keeping your clothes in tip-top shape is about way more than flashing a sharp OOTD on your social feeds. Mending and tailoring clothes is one of the easiest ways to keep duds in use and out of the landfill. But running to the tailor every time you need a button fixed, hem raised, or tear mended can get expensive quickly. Luckily, you can handle most adjustments at home with a needle and thread—and in more advanced instances, a sewing machine. By doing so, you’ll not only look more fashionable; you’ll also be making a sustainable choice that helps the environment.
A simple repair can extend the life of a piece of clothing by 1.3 years, according to an analysis from WRAP, a climate NGO.1 And research has found that tears and bad fits are the most-common reasons folks chuck duds.2 Yet few people in the U.S. ever learn the basics of sewing and mending.3 This replace-over-repair mentality is a main driver of textile waste: The world chucks a garbage truck’s worth of clothes every second, according to the Ellen MacArthur Foundation, and we’re on pace to generate 148 million tons of fashion waste by 2030.4
By keeping clothes in your closet—and improving the way they look on you—you’re less likely to buy more new outfits that you may not need. Doing that starts with mastering the basics and working your way up to making more advanced tweaks.
Altering clothes: 8 things to try at home
Even total sewing newbies can master simple repairs in little-to-no time, and taking care of fit issues is also well within the grasp of the average home sewer. Many of these fixes can be done by hand, but others will be easier, better, and faster with a machine.
Here are some common alteration projects, ranked from easiest to hardest, for making big clothes fit you correctly—including links to helpful video tutorials to guide you along the way.
Easy: Sewing buttons
It’s easiest to sew buttons on by hand. Doing so requires different techniques than many other tailoring projects but is still beginner-friendly. Sewing a button involves creating an anchor point in the fabric, weaving through the button holes, and then securing the button in place. For full instruction, check out this tutorial from men’s lifestyle magazine The Art of Manliness.
Easy: Patching holes
Adding a patch is a unique way to cover holes and rips in clothes while adding a bit of character to your look. Some store-bought patches can be ironed on, or you can affix them with fabric glue. But for the most durability, pin the patch in place and sew it on. For more, check out this video from craft YouTuber Madi Danger
Medium: Mending seams and rips
The exact best way to deal with a rip will depend on the type of rip, such as its size and placement, whether it’s at an existing seam, and whether any fabric is missing. For example, if a sleeve of a T-shirt rips off at the seam near the armpit but there’s no fabric missing, you can turn the shirt inside out, match the seam edges, and add a straight stitch to rejoin things where the stitches are broken. For a full tutorial, check out this guide from the Treausurie blog.
Medium: Raising hems
For pants, skirts, shirts, and dresses that are too long, the best thing to do is shorten the hem. Try on the garment inside out, and mark with pins or chalk where you want the new hemline to be. Remove the garment. With fabric scissors, cut off the excess in a parallel line half an inch below where you marked. Fold up the raw edge, remove any pins, iron the fold, then pin it to keep it secure. Sew in a straight line along the new hemline, as close to the raw edge as you can. Optionally, you can then trim excess fabric inside the garment with scissors. For more help, check out this guide from MasterClass.
Medium: Taking in shirts and dresses
For tops and dresses that are too baggy, you may need to take them in on the sides. Try on the garment inside out, and mark with pins or chalk the boundary of the extra fabric that you’ll remove. Take off the garment and, along your marked area, begin sewing in a straight line parallel to the seam. If the armhole is also too wide, continue the stitch onto the sleeves; if the armhole already fits correctly, taper the line of stitches to meet it. Once you’re done, you can cut away excess fabric. If you choose, you can also reinforce the new seam with a zig-zag stitch. For more help, check out this guide from Bespoke Post.
Medium: Taking in pants at the waist
Taking in pants is more complicated than altering a shirt or dress, because narrowing the waistband often also involves tailoring the seat as well. There’s also less wiggle room, as the final product will generally look better if you’re snipping 2 inches of material or less. For a full tutorial, check out this video, or this guide from Sewing For a Living.
Medium-to-hard: Upsizing a shirt or dress
There are a few techniques to making a small shirt or dress bigger, but they won’t work on every garment. One option is opening up darts, which are seams that taper garments to provide shape—but that will only help if the garment is just slightly too tight. Other options include opening up side seams and adding fabric at the sides or back. For more, check out this tutorial from the blog Thriftanista in the City.
Hard: Widening a waistband
If your pants are too snug, there are a few ways to make them bigger. Some jeans have an extra seam allowance at the back center of the waist that you can open up for extra room. Or you can add extra fabric at the side seams, which will be visible. There are also no-sew methods of stretching out your pants, such as sitting in a bathtub in your pants, then wearing them wet—and, ideally, doing squats and lunges—for 30 minutes before letting them dry. For more on all of these techniques, check out this tutorial from custom labelling company Super Label Store
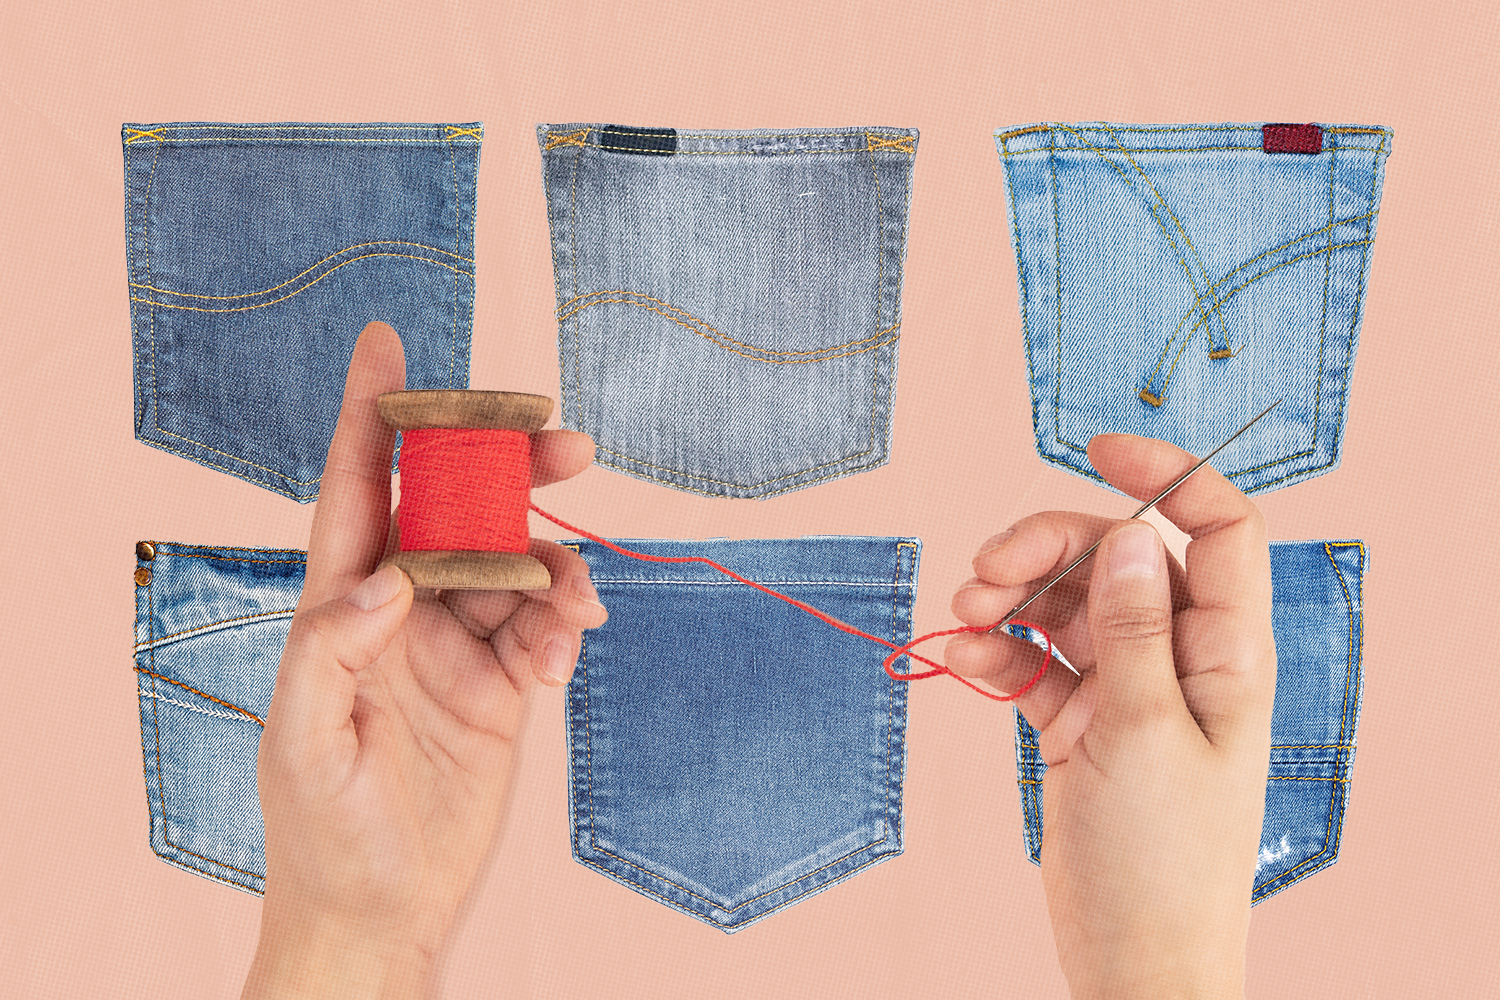
Sewing tips for beginners
Most alteration work is best done with a sewing machine, but hand sewing is more precise, so it can be best if you’re working on something small, like a repair.
Threading the needle
Cutting your thread on an angle will make it easier to poke into the needle’s eye. Be sure not to cut off much more thread than you need for your stitching; too long and it will be difficult to work with. You can also wax your thread, such as with beeswax, to prevent tangles. For more tips, check out the blog Closet Core Patterns.
Basic stitches
You don’t have to learn fancy stitches to make your clothes look professionally tailored. Stitches called the “slip stitch” and “blind hem stitch” are both great choices for hemming clothes because they’re secure but, and are barely visible. For a tutorial on both of these stitches, check out this video from DIY education website Craftsy.
Backstitching
To prevent new seams from unraveling, it’s wise to double back and make what’s called a backstitch at the beginning and end of the seam. In hand sewing, this can be an alternative to simply tying a knot at the beginning and end of the thread. Backstitching on a machine is also simple, as well: When you start the seam, just put in a few stitches, then press the machine’s reverse button or lever, and you’ll backtrack over the stitches you just made; then turn the reverse function off and continue stitching. Once you get to the end of the seam, double back again.
Getting started with a sewing machine
For the uninitiated, using a sewing machine can be intimidating. Luckily, you don’t need to understand all the fancy settings to make most basic alterations. If you’re interested in buying one, you can easily find a new one for less than $200, like the Singer M1000 or Brother XR3774, but there’s also a pretty decent market for secondhand machines—but it’s bet if you can try it out before making a purchase.
Each model is slightly different, and as with anything it’ll take some practice to get comfortable. But there are some common terms to know and steps to follow, namely winding thread about the spool (aka the bobbin) and treading the machine. Stitch Clinic has guides that can walk you through threading almost any model.
A note about measurements
Knowing your measurements can help you tailor your garments precisely without any guesswork. But it’s also no substitute for trying things on and pining or chalking them before tailoring, especially while you’re still a beginner. To take your measurements, use a flexible measuring tape or a string that you can mark and then measure with a traditional measuring tape. The parts of the body you’ll want to measure are your chest/bust, waist, hips, shoulders, and inseam. In most instances you’ll be able to do this yourself, but you’ll need someone to help you out measuring your shoulders.
Footnotes
- Clothing Longevity and Circular Business Models Receptivity in the UK, WRAP, Oct. 2022Return to content at reference 1↩
- Making Clothing Last: A Design Approach for Reducing the Environmental Impacts, International Journal of Design, Sep. 2015Return to content at reference 2↩
- Bring Back Home Economics Education, JAMA, May 2010Return to content at reference 3↩
- Death by Waste: Fashion and Textile Circular Economy Case, Science of the Total Environment, May 2020Return to content at reference 4↩