When it comes to convenience, canned beans come out on top every time. When it comes to taste, however, dried beans are the GOAT. Canned beans (which also start as dried beans, by the way) are kinda blah because they actually get cooked inside the vessel, which is what keeps them sterile. The legumes also have a tendency to absorb the metallic taste of the aluminum. Plus, the precooked beans hue toward mushy. Dried beans are texturally superior (bite on the outside, creamy on the inside) and take on seasoning better than their tinned counterparts.
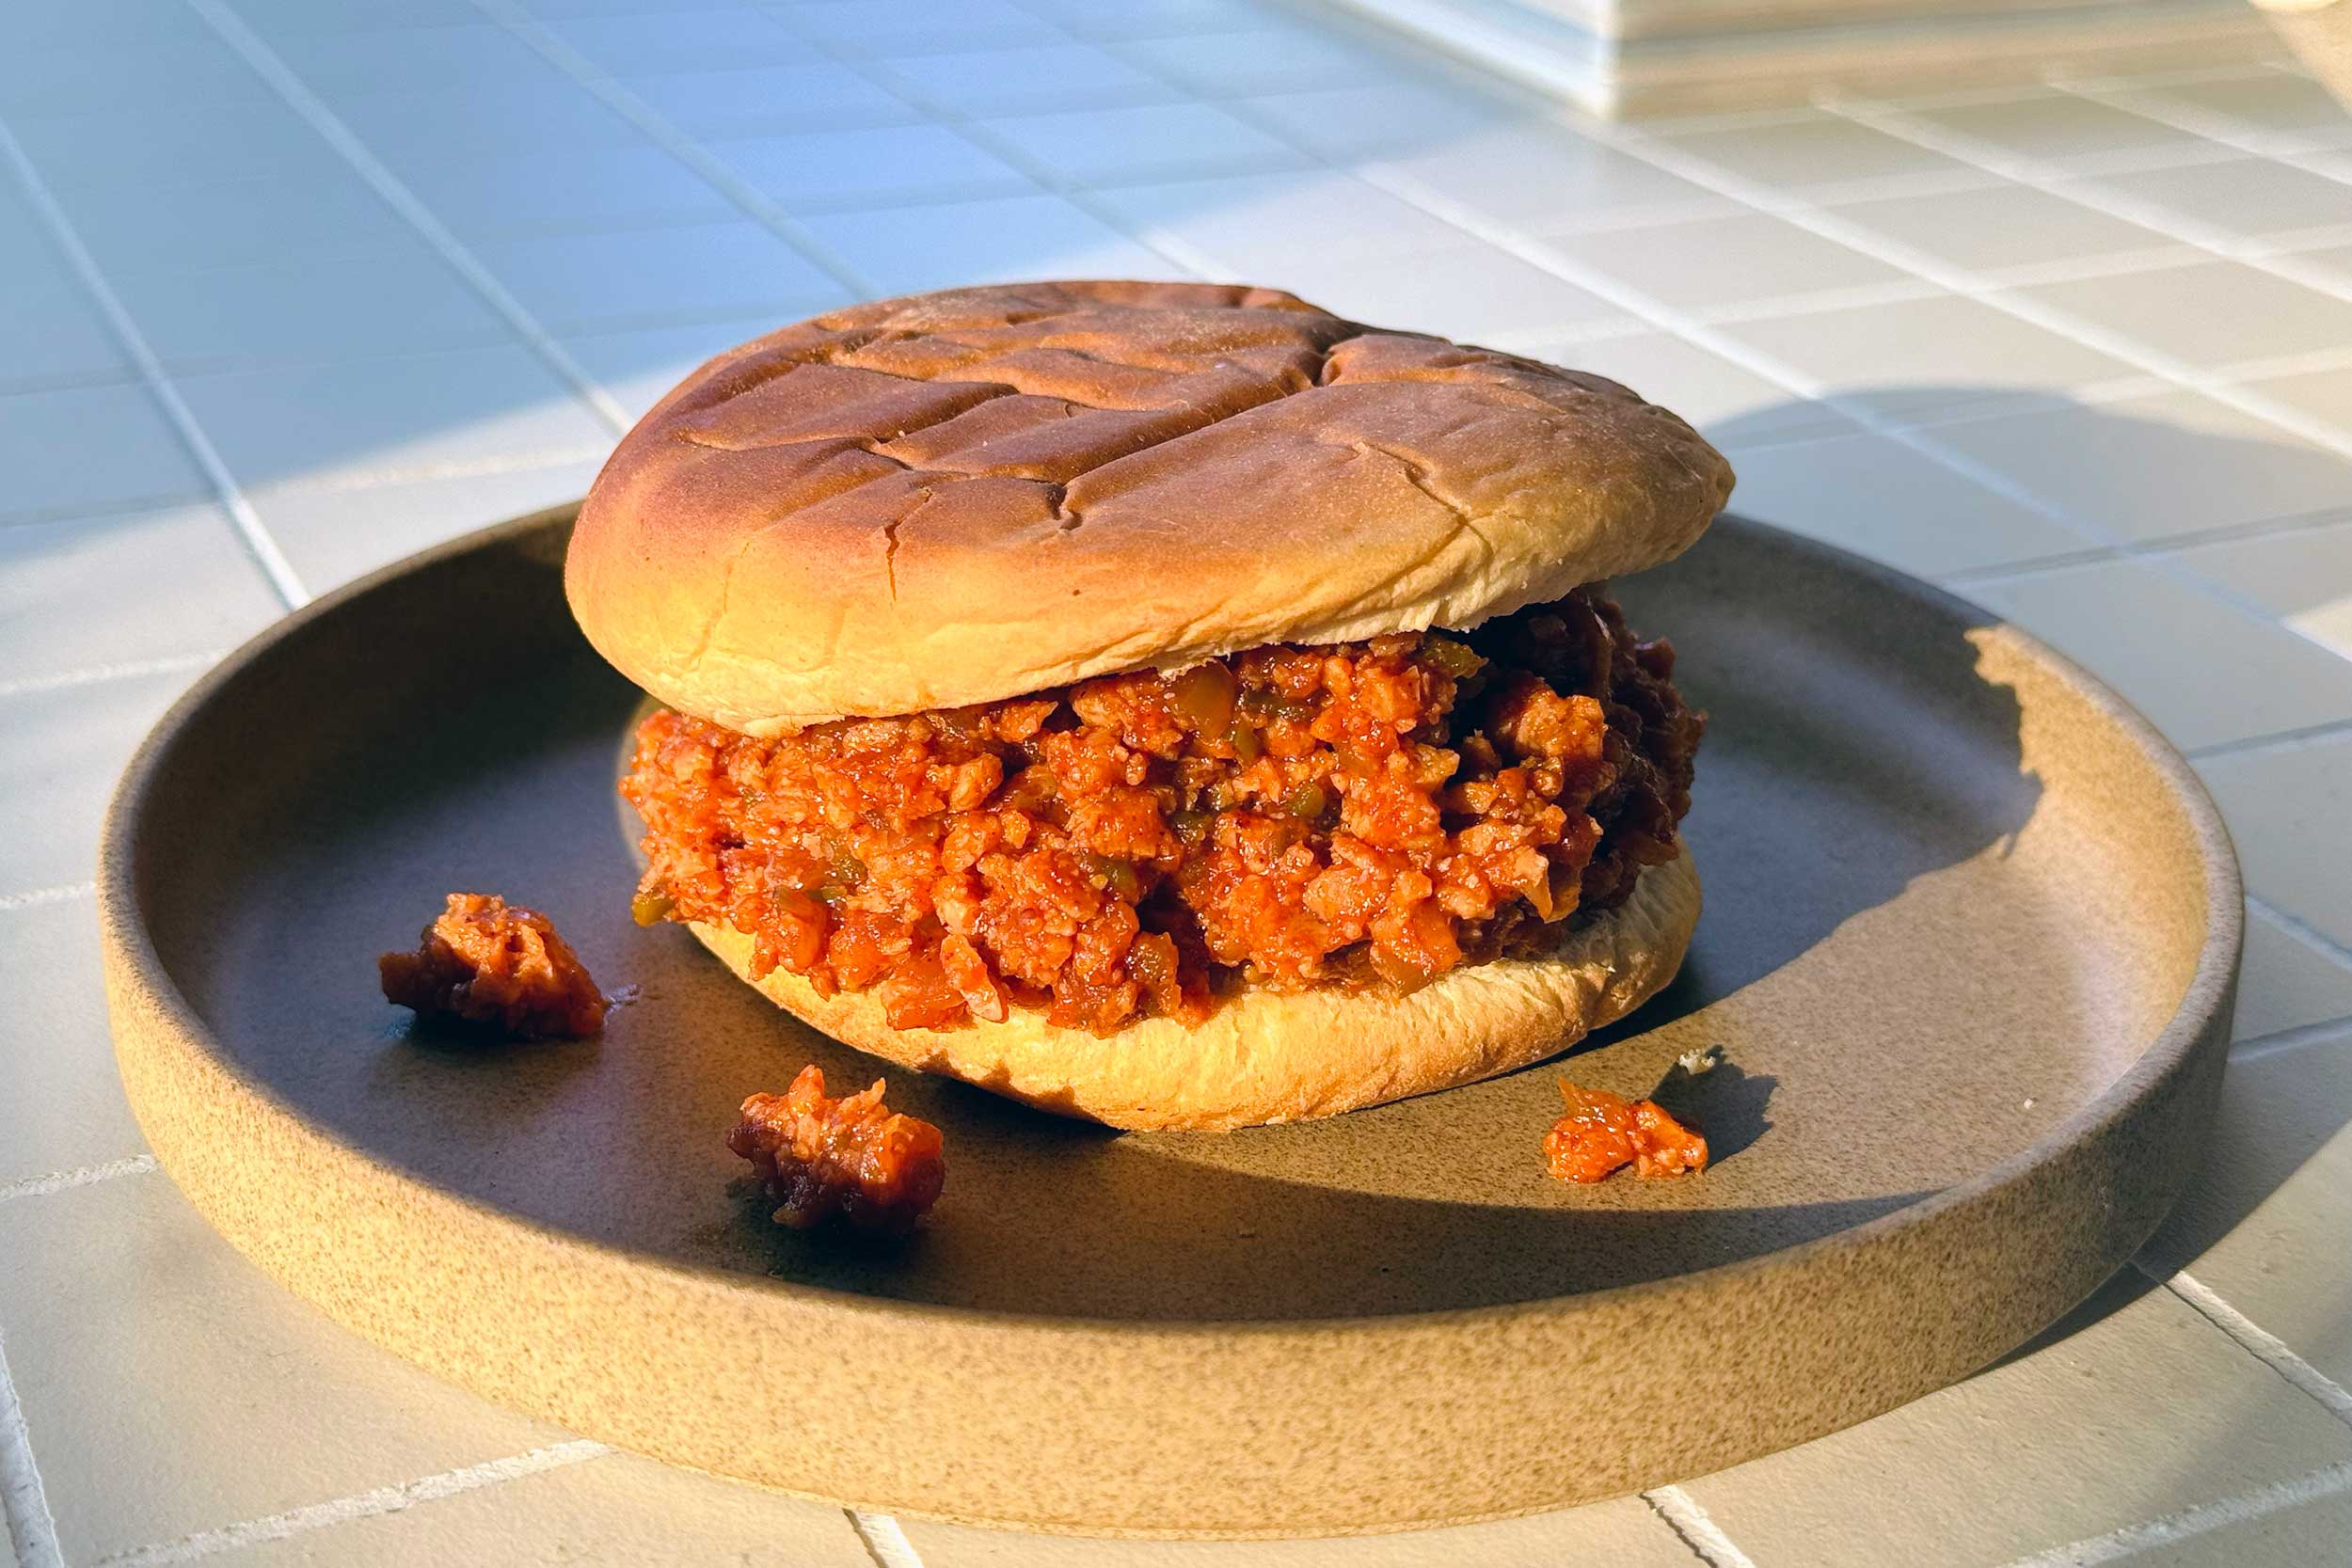
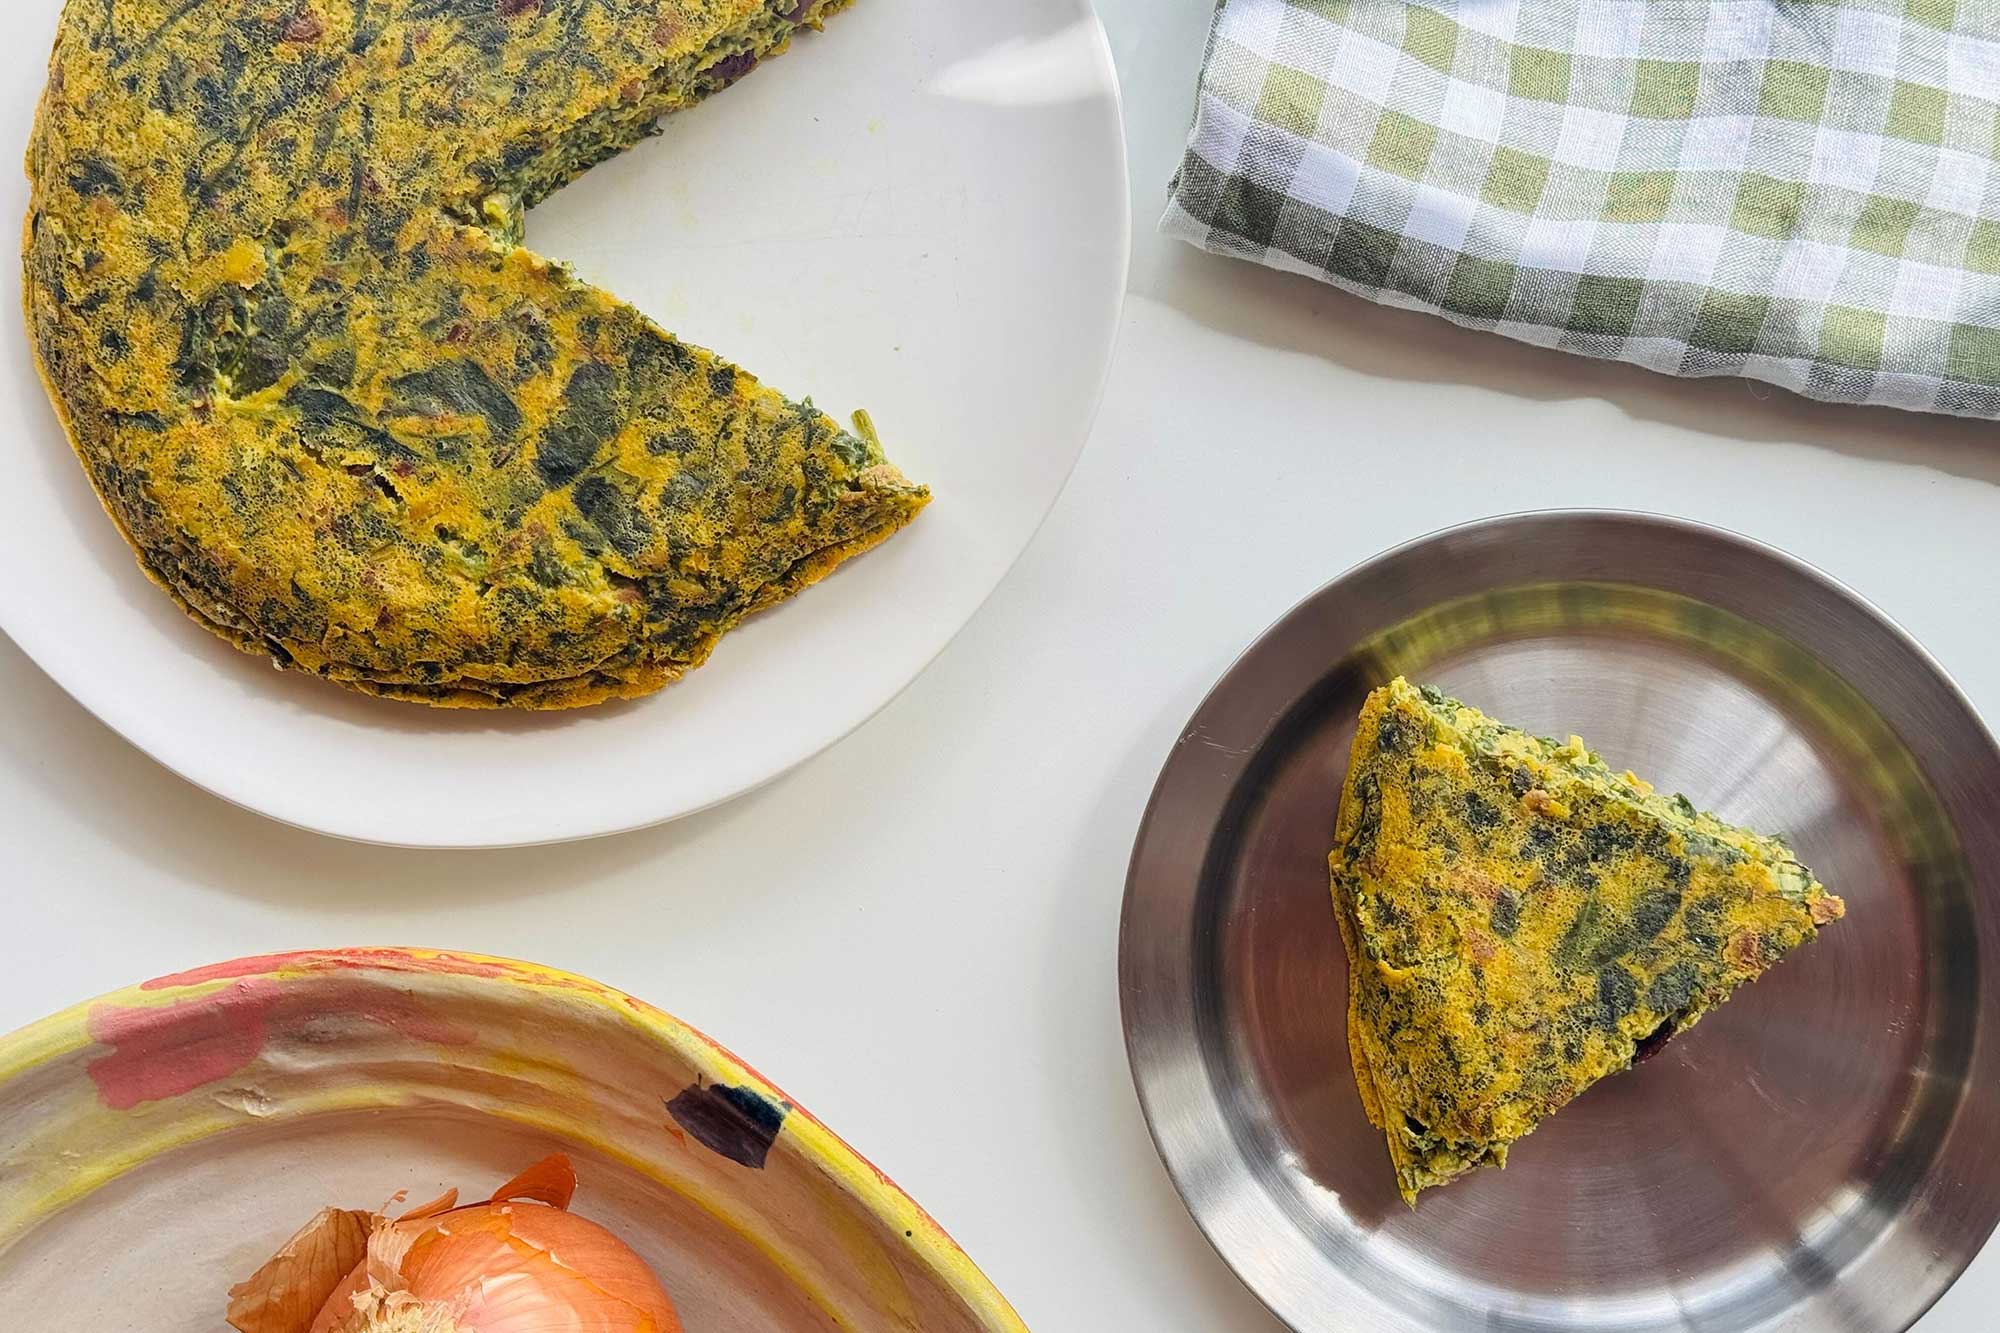
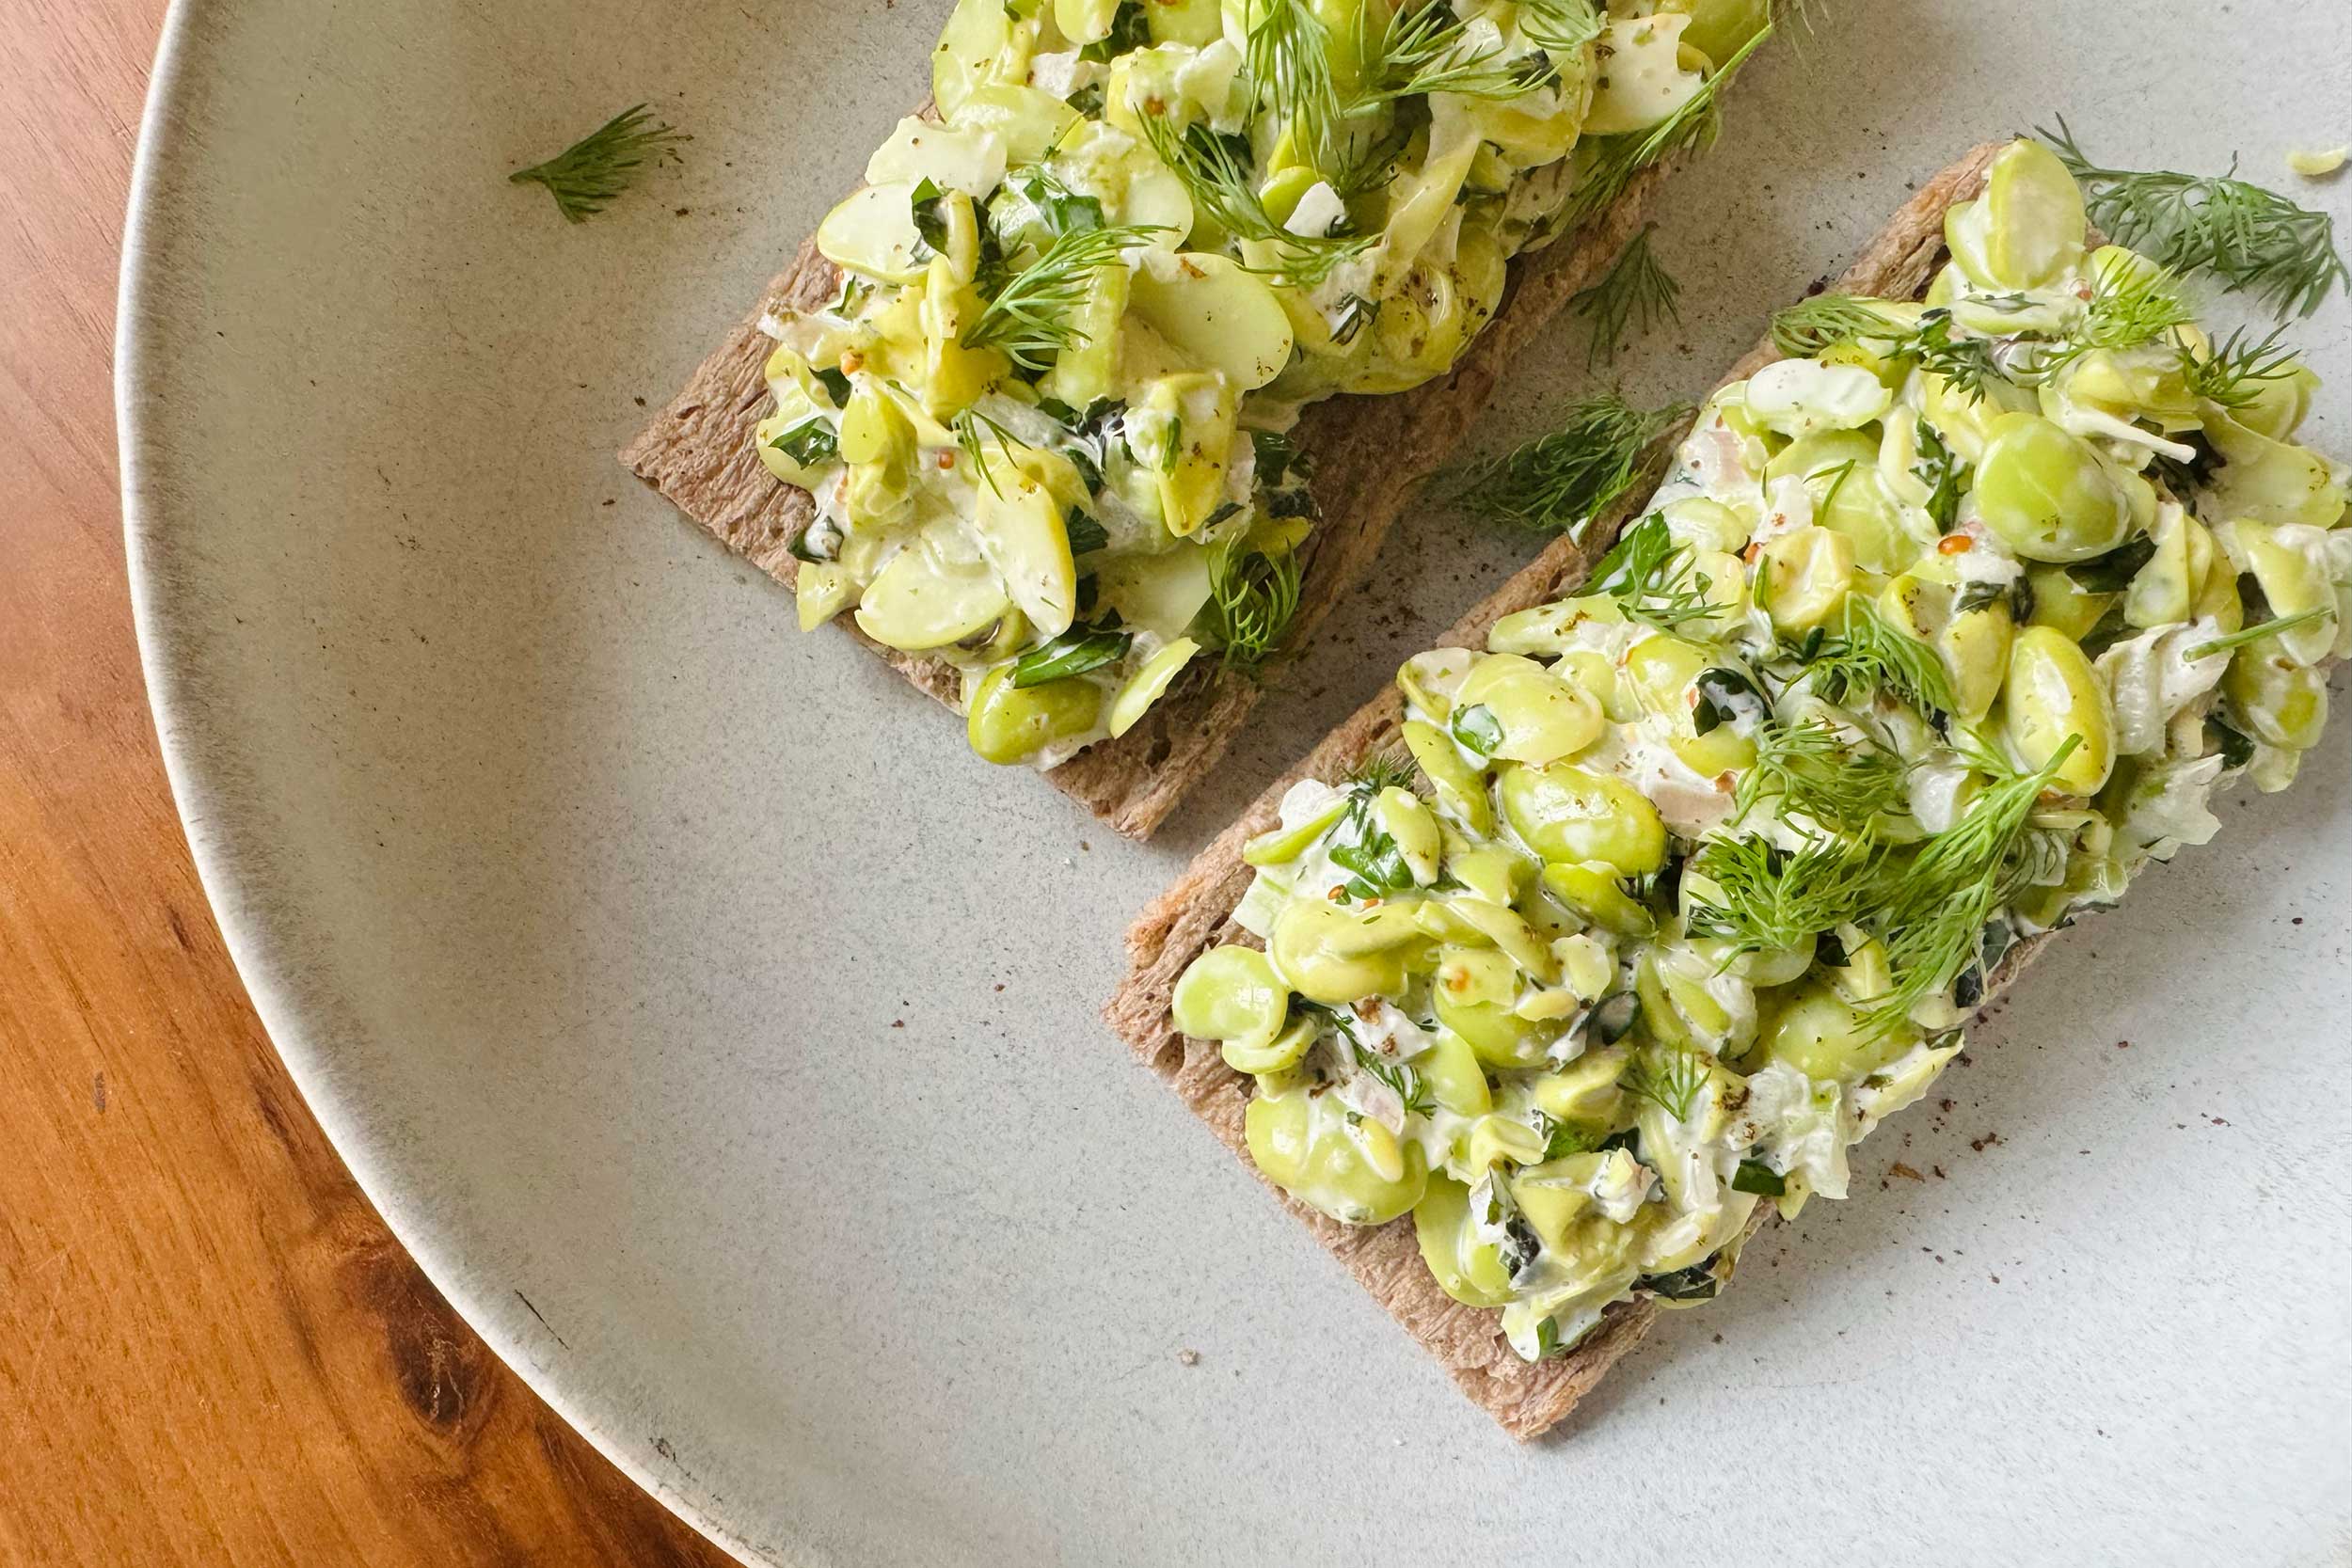
What follows is our go-to preparation for a pot of chickpeas—for mixing into pasta, piling on toast, or packing into a frittata—and a quick template for cooking whatever dried beans you’ve got stashed in the pantry.
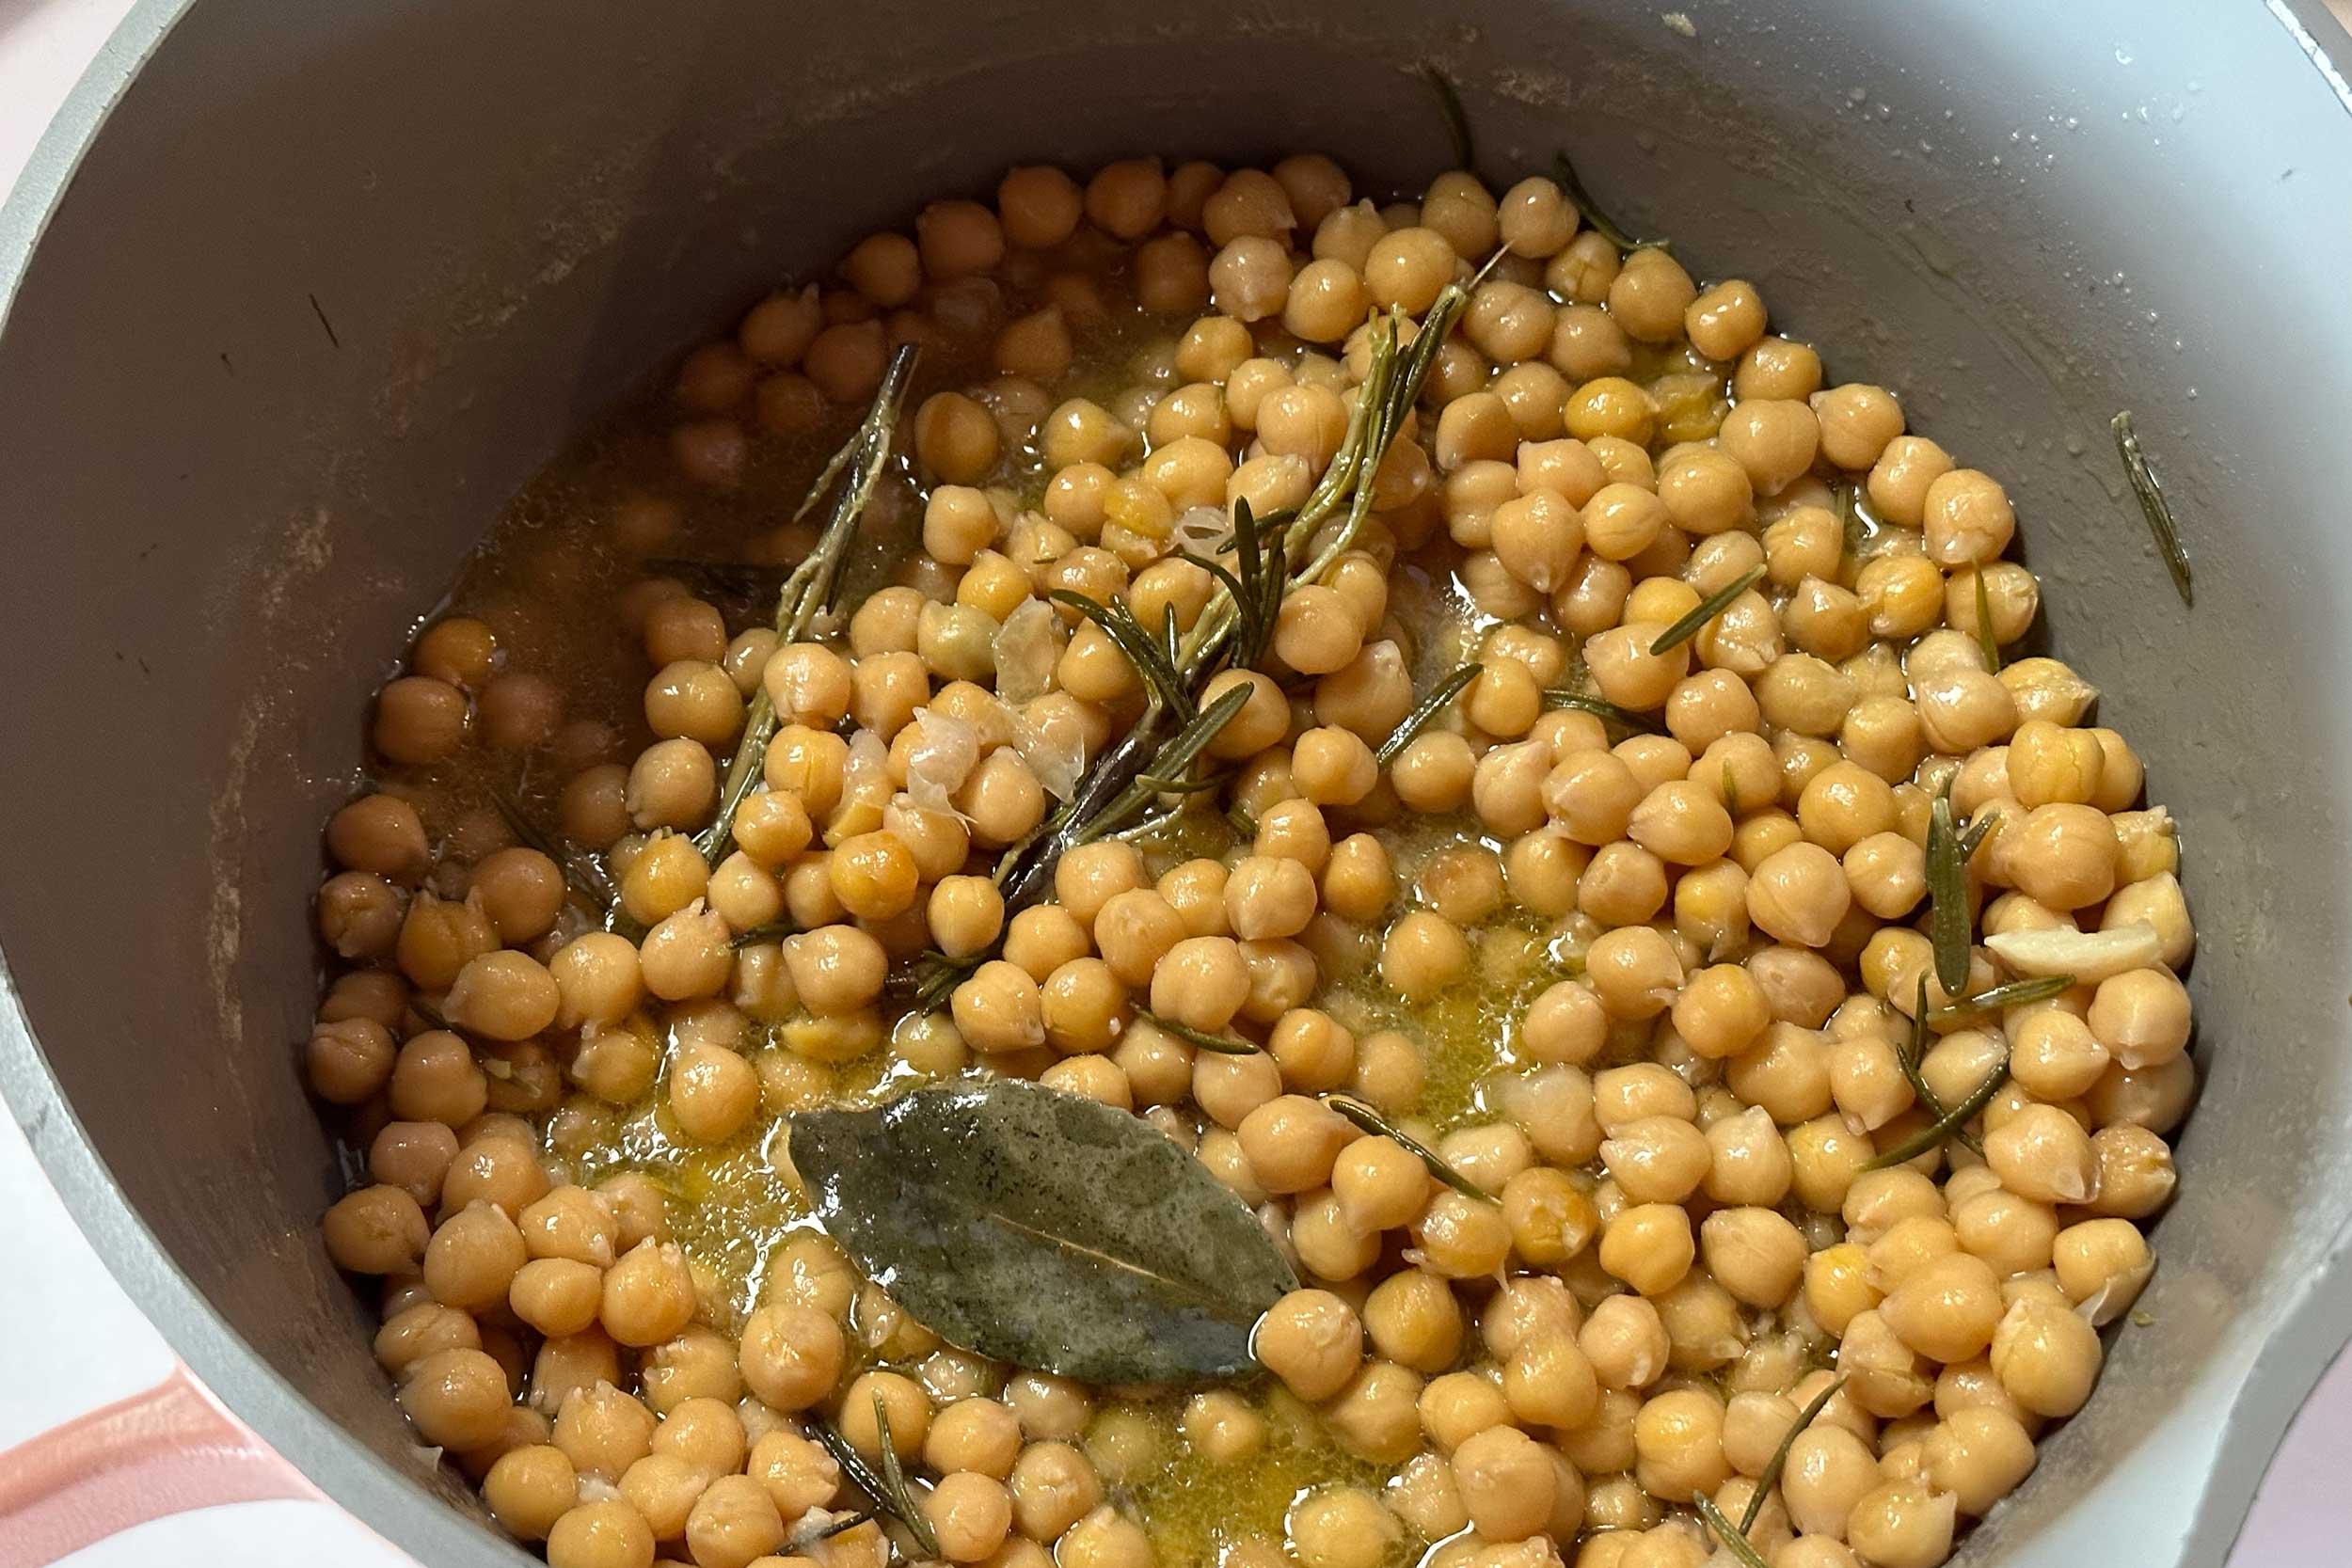
A Simple Pot of Chickpeas
Yield: 6 cups
Ingredients:
- 1 pound dried chickpeas, sorted and rinsed
- 2 tablespoons kosher salt, divided, plus more to taste
- 5 garlic cloves, lightly crushed
- 2 rosemary sprigs
- 1 bay leaf
- 1/4 cup olive oil, plus more to taste
- 2 tablespoons lemon juice or apple cider vinegar, optional
Procedure:
- Soak: Cover the beans with a few inches of fresh water and season with 1 tablespoon salt. Soak for 4 to 12 hours; transfer to the fridge if soaking for more than 8 hours.
- Cook: Drain the soaked chickpeas and add them to a large pot with enough fresh water to cover, about 3 quarts. Add the garlic, rosemary, bay leaf, olive oil, and remaining salt. Bring to a boil and boil for 2 minutes. Reduce heat to a simmer and cook until firm-tender, anywhere from 1 to 2 hours.
- Season: Remove from the heat and adjust seasoning, adding more salt and olive oil, to taste. At this point, you can also add the lemon juice or vinegar, if using.
- Cool: Cool the chickpeas off the heat for an hour before serving. Store leftovers in their liquid in the fridge for 5 to 6 days or the freezer for up to 6 months.
The Bean Basics
Cooking dried beans from scratch is an easy, adaptable, and largely hands-off enterprise. Regardless of your legume of choice—from a bulbous butter bean to a teeny red lentil—the process of rehydrating the beans and infusing them with layers of flavor is the same. Here’s what you need to know to master the bean:
Step 1: Sort and rinse
We always chuckle when a recipe tells me to sort and sift my beans to remove any small stones, but bits of gravel can (and do!) sneak into batches. You’ll also want to sift through your beans and remove any shriveled, damaged-looking ones. Then, rinse them in a colander under cold, running water to remove any dirt or debris.
Step 2: Soak (or don’t)
There are many points of contention when it comes to cooking dried beans, but the soaking debate is at the top of the list. Is it absolutely necessary? Not really. If you remember to do it, great. If not, no biggie. The idea is that it will help them cook faster and more evenly. A long bath can also help break down the hard-to-digest sugars in the bean that can cause gastric distress. We can’t speak for everyone about the latter issue, as every tummy is different. But we can say that soaking beans can quicken cooking time, but it all depends on the bean. Our preferences:
- Don’t soak: Smaller, thin-skinned legumes like black beans, black-eyed peas, and lentils. We find that too much water can wash out the flavor—and it only shortens the cooking time by 10 to 15 minutes.
- Soak: Heftier beans like chickpeas, pinto beans, and butter beans. These heartier varieties can benefit more from a soak as they tend to take longer to cook.
If you’re soaking, cover the beans with plenty of water to keep them submerged (they will expand). Season the water with salt (1 tablespoon per pound of beans) and soak for 4 to 8 hours. If you’re soaking overnight or for longer than 8 hours, it’s best to keep them in the fridge. Don’t soak for longer than 24 hours. Rinse them again before cooking.
Step 3: Add flavor
Put the beans in a large pot and add water to cover them by 3 inches. Season the water with salt and add your chosen herbs, spices, and aromatics the same way you would with a homemade stock.
- Aromatics: Add onion, shallot, celery, carrot, leek, or smashed garlic to add layers and depth of flavor. This is a great place to use up scraps and trimmings from veggies or even a Parmesan rind.
- Heat: Add a couple dried chiles like chipotles or guajillos for a smokier flavor.
- Herbs: Toss in herbs like thyme, rosemary, sage, and bay leaves. If you don’t want to fish out the leaves at the end, you can create an easy-to-remove herb sachet.
- Fat & umami: To add more flavor and improve digestibility, toss in some strips of kombu seaweed. We also love to pour in a generous glug of olive oil to season the broth and beans and add some fat.
Step 4: Cook the beans, gently
Bring the water to a boil, then lower it to a simmer, where it will stay until the beans are done. If the heat is too high those babies will boil and bump into each other, which can cause them to break and cook unevenly. As the beans cook, skim off any foam that forms on the top. Starting at the 40-minute mark, check doneness periodically every 5 minutes or so. Every bean cook time is different depending on the type, quality, and age. When they are done, they should have a slight bite on the outside, with a creamy interior. If the water drops too low at any point, add fresh water to top the beans off.
Step 5: Introduce acid and season to finish
Adding acid is an instantaneous way to brighten up the final product. But adding it too early will make the beans tough, so wait until the end to stir ingredients like lemon juice, vinegar, wine, or chopped tomatoes. Beans LOVE salt and fat, so taste them one final time and add more salt and olive oil to your liking.
Step 6: Cool & store
Once done, cool the beans in the cooking liquid. Store leftovers in their liquid to keep them from drying out. Beans will keep in the fridge for 5 to 6 days, but beyond that it’s best to freeze them. In cold storage, they will last around 6 months. Freeze that starchy, flavorful cooking liquid too! It's basically a delicious soup at this point and great for adding to pasta sauces, stews, and braises.